
You broke a drawer clip, lost the cap of a device, or dreamed of a custom stand for your desk. 3D printing allows you to create these personalized objects at home or through an online service, from a simple digital file.
The technique remains accessible as long as you understand three steps: model, prepare, print. Each step has its pitfalls, and it is often the technical detail that makes the difference between a successful object and a pile of wasted filament.
3D Modeling: The Real Entry Point to Create a Custom Object
Most guides start by discussing printers. However, the choice of modeling software is the obstacle that blocks the most beginners. Without a properly designed 3D model, even the best printer will produce nothing usable.
Three criteria help choose suitable software: ease of use, compatibility with standard formats (STL, OBJ, 3MF), and the quality of the user community. Software with numerous tutorials and an active forum significantly shortens the learning curve.
For a simple object (a wall hook, a socket cover, a phone holder), a free parametric software is sufficient. The idea is to draw a two-dimensional shape and then extrude it into volume. Several platforms also offer libraries of ready-to-print 3D files, which you can modify to fit your exact measurements.
A often overlooked point: a model must be geometrically closed to be printable. This is referred to as “manifold” mesh. Specifically, each surface of the model must form a watertight volume, with no holes or inverted faces. A file that appears correct on screen can generate printing errors if this constraint is not respected. Most slicing software will flag these anomalies, but correcting them afterward takes more time than modeling properly from the start.
Creators share their projects and files on makeitnow.fr, allowing you to start from an existing base rather than a blank screen.
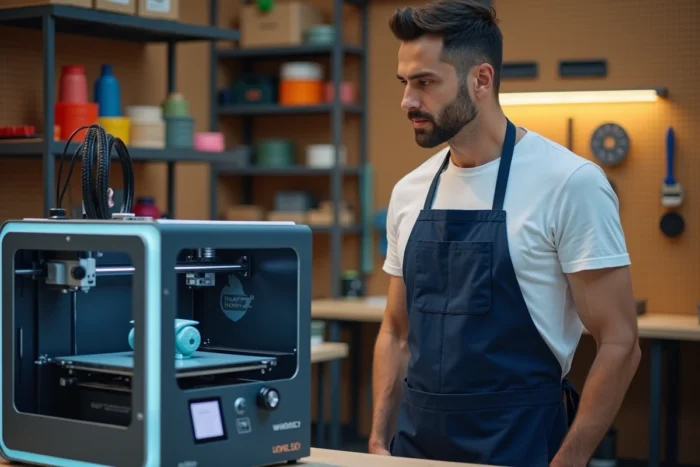
Print Settings and First Layer: Where Most Failures Occur
You have your 3D file, your printer is ready. Before starting the production, the file goes through slicing software. This program slices the model into horizontal layers and generates the instructions that the printer will follow.
It is at this stage that the quality and strength of the printed part are determined. Two settings deserve special attention.
Layer Height
The thinner the layer, the more precise the detail, but the longer the print takes. For a functional object (a replacement part, a holder), a medium layer height offers a good compromise between strength and duration. For a decorative object with fine reliefs, reducing the height significantly improves the finish.
The First Layer, a Critical Success Factor
The first layer strongly influences the success rate of a print. If it does not adhere properly to the bed, the object will lift during production. The result: wasted hours and material.
The Prusa knowledge base recommends precise adjustments for nozzle height and speed for this step. Specifically, the nozzle should be close enough to the bed to slightly squash the filament without blocking it. Reducing the print speed on the first layer also helps the material adhere well.
Before launching a complex object, print a simple test square. If the lines of the first layer are regular and well adhered, the rest will follow.
Choosing the Right Material for Each Use
The material determines both the appearance, strength, and durability of the printed object. For a filament printer (the most common among individuals), two main families dominate.
- PLA is the most used material by beginners. Easy to print, it does not require a high-temperature heated bed. It is suitable for decorative objects, prototypes, and parts that will not be subjected to heat or strong mechanical stress.
- PETG offers better resistance to shocks and heat. It is suitable for functional parts exposed to wear, such as a clip, a hinge, or an outdoor support.
- PLA+ (or reinforced PLA) sits between the two. It retains the ease of printing of PLA while slightly improving mechanical strength, making it a versatile choice for everyday objects.
The choice of material is made before modeling, not after. The wall thickness and the size of details directly depend on the chosen material. A thin clip in PLA will break where the same clip in PETG will hold.
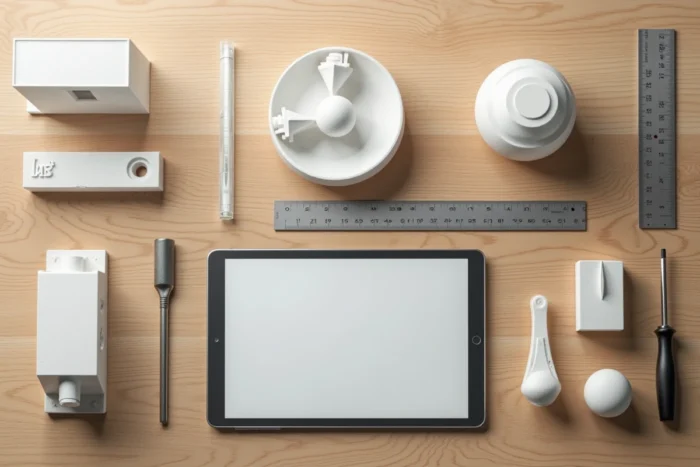
Replacement Parts and Custom Objects: Two Concrete Cases
Why print an object rather than buy it? Two situations clearly justify the use of 3D printing.
The first: the part no longer exists. An old oven knob, a piece of furniture leg with a specific profile, an adapter for a device that is no longer manufactured. Creating an unobtainable replacement part is the most cost-effective use of 3D printing for an individual. The material cost is negligible compared to replacing the entire device.
The second: the standard object does not fit. A drawer organizer with the exact dimensions of your furniture, a tablet stand angled to your preferred angle, an ergonomic handle suited to your hand. Custom manufacturing eliminates the compromises imposed by industrial products.
In both cases, the approach is the same: measure precisely, model while respecting the material constraints, print a prototype, adjust if necessary. Allow a tolerance margin of one or two tenths of a millimeter on parts that need to fit together to avoid reprints.
When to Use a Printing Service Rather Than Buying a Printer
Owning a 3D printer only makes sense if you print regularly. For a one-time need (one or two parts per year), an online printing service is cheaper than investing in the machine, materials, and maintenance.
These services accept your 3D files, offer you a choice of materials and finishes, and then ship the finished object. You retain control over the design without managing machine settings.
Custom 3D printing does not require engineering skills. It requires method: a clean file, a suitable material, a well-prepared first layer. The rest is iteration. Each failed object teaches a setting. Each successful part opens up one more idea.